
If you are also getting a message that says, this app is preventing the shutdown of Windows 10 UXDService while shutting down or restarting your system well this guide is for you.
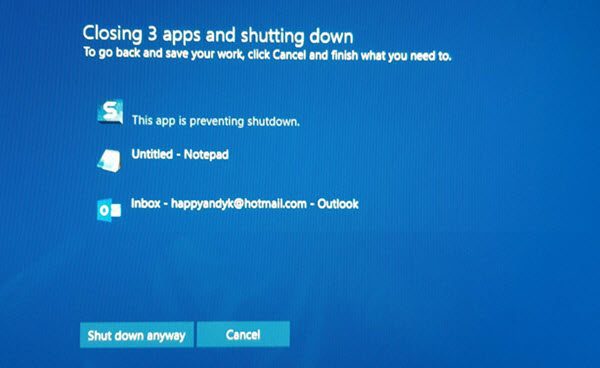
There have been a lot of complaints regarding this particular issue. Users have also claimed that on checking Task Manager and Services they were unable to find any service by the name of UXDService. This can be problematic as this issue occurs every time when a user shutdown or restart their system. In this troubleshooting guide, we will be giving you some best ways by which this issue can be eliminated from the system.
Causes Of UXDService Issue
On researching about this particular service we found out that the issue only occurs on a system that has Nvidia GPU. UXDService is a service that belongs to the Nvidia drivers. Although there is no clear explanation regarding why this service does not stop on shutting down the system or restarting it. But it can be concluded that it is not harmful and does not affect your system negatively.
Similar Types Of UXDService Issues
- Pipe UXDService
- Rtls5wake.
- This app is preventing you from restarting
- UXDService Windows 10
- Nvidia
- What is Umajin Viewer
- Closing 1 app and shutting down
- NVFBC plugin shutdown
Methods To Fix UXDService Issue
Since UXDService is a native windows service that is why it does not appear in the Task Manager and Services, so it becomes impossible to disable or stop the service from being running.
However, some users claim that updating the windows and the Nvidia driver fixes the issue. Furthermore, we will also try to resolve the issue using a clean boot and an SFC scan.
1. Update NVIDIA Driver
The first thing you need to do is to update the Nvidia driver to the latest version. You can update the Nvidia driver using two ways first is the manual way and the second is using the GeForce experience app. Follow any of the ways you prefer.
A. Updating the Nvidia Driver Manually
The manual way is not that hard or complex if you do not have the GeForce experience app installed follow the below steps.
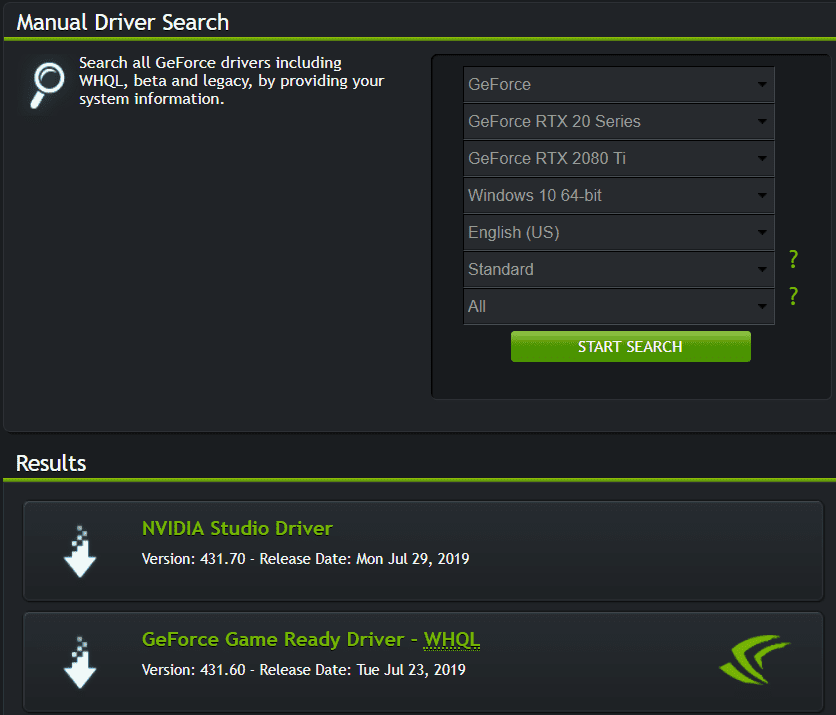
- STEP 1. Open up your web browser and open this link.
- STEP 2. Once the webpage is opened up, now according to your GPU search the driver.

- STEP 3. Download the driver application and install it.
- STEP 4. Once installed simply restart your system.
B. Updating the Nvidia Driver using GeForce Experience
If you have the GeForce experience application installed on your system the follow the below steps.
- STEP 1. Launch the GeForce Experience application.
- STEP 2. On the top click on the Driver Tab.
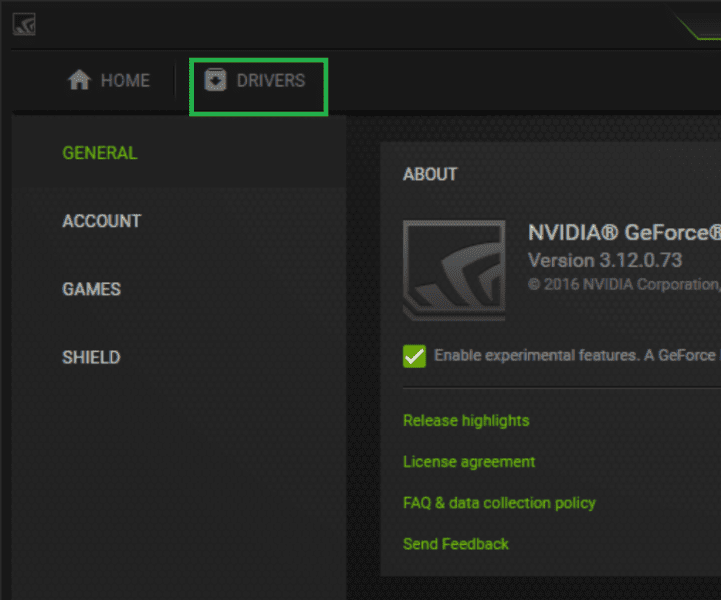
- STEP 3. Now on the right click on Check for updates button.
- STEP 4. If there is any update present, kindly install them.
- STEP 5. Restart your system and hopefully, the issue is fixed.
2. Installing Latest Windows Update
If you have followed method 1 and still facing the issue, then you must install the latest Windows update as well. Follow the step to do so.
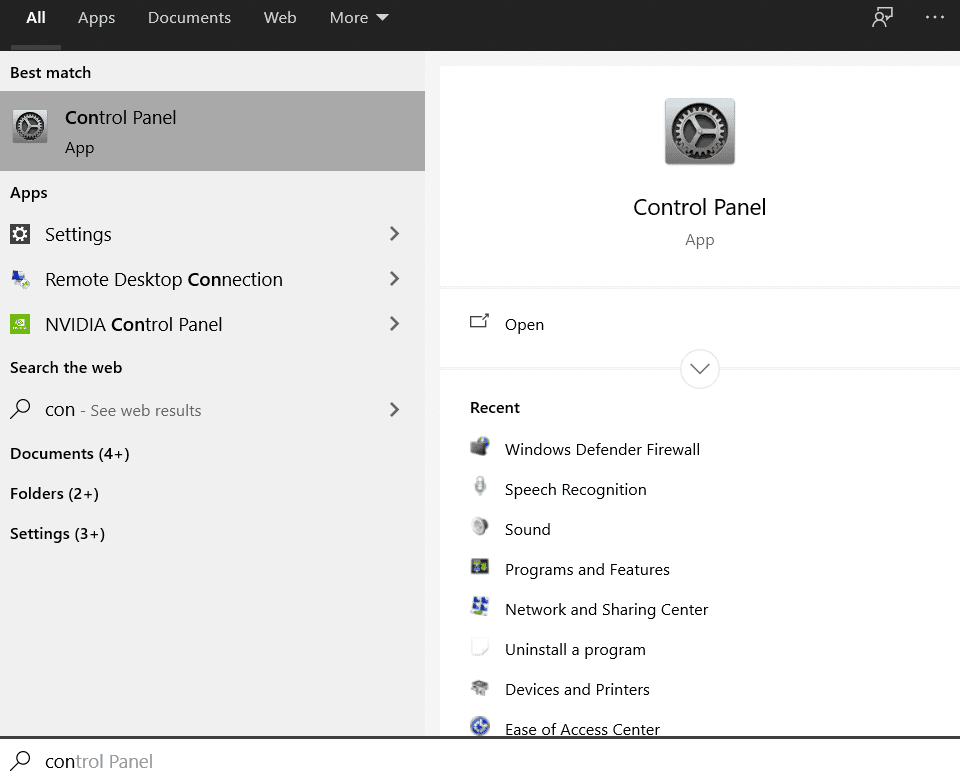
- STEP 1. Press the Windows+R key. A small window will pop up.
- STEP 2. Here type Control Update and hit Enter, you will be directed to the Windows Update window.
- STEP 3. Now on the right click on the Check for Updates Button.
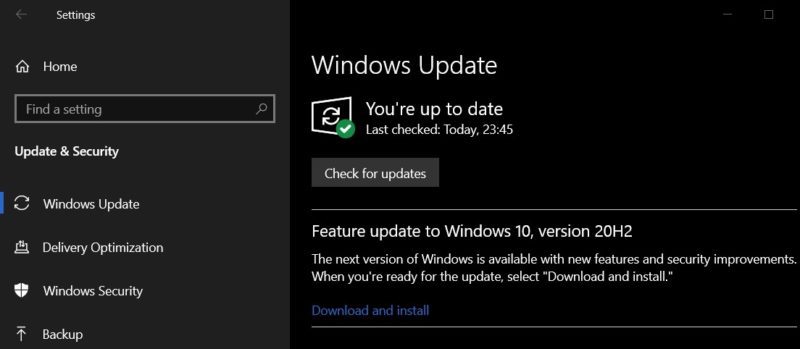
- STEP 4. If there are any updates present kindly install them, and restart your system.
- STEP 5. Once the system is restarted check if the issue still occurs.
3. Perform SFC Scan
In case the issue still persists, perform an SFC scan to fix all the corrupted system files, registries, and other corrupted files.
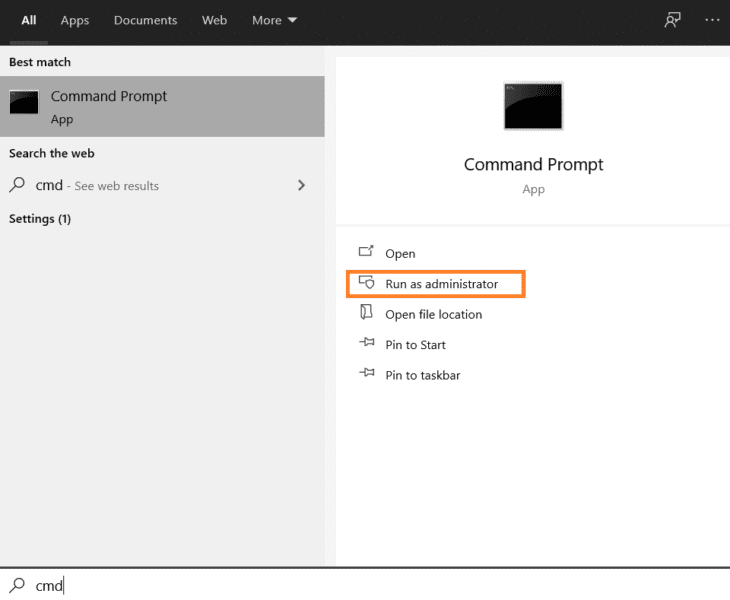
- STEP 1. Open up a command window as an administrator.
- STEP 2. Now execute the below command.
sfc /scannow
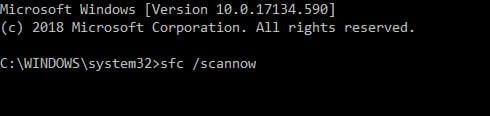
- STEP 3. Once done, reboot the system and hopefully, your issue will be fixed.
4. System Restore
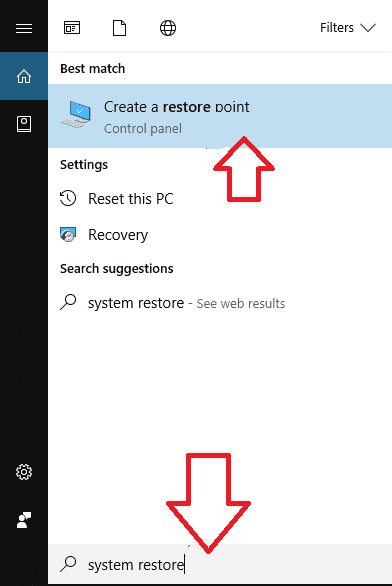
If you have created a system restore before and you are sure that the was not present at that time follow the below steps.
- STEP 1. Head to the Restore Point option, by searching system restore in Start search bar.
- STEP 2. As soon as you hit the option, a window will pop up there click on the System Protection tab.
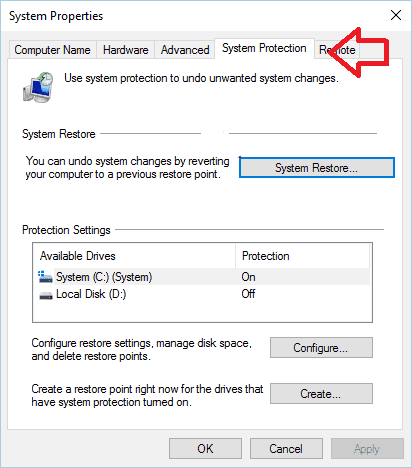
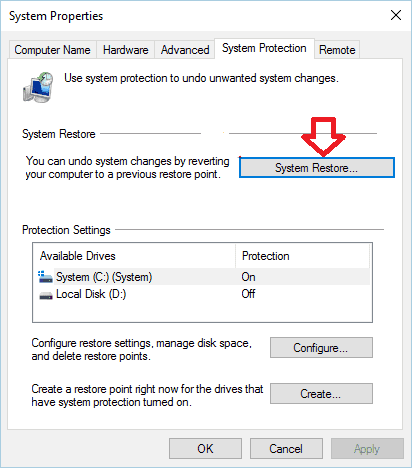
- STEP 3. Here click on the System Restore Button, a window will pop click the Next button.
- STEP 4. Again a new window will pop up, firstly tick on Show more restore points, you will now able to see all your restore points.
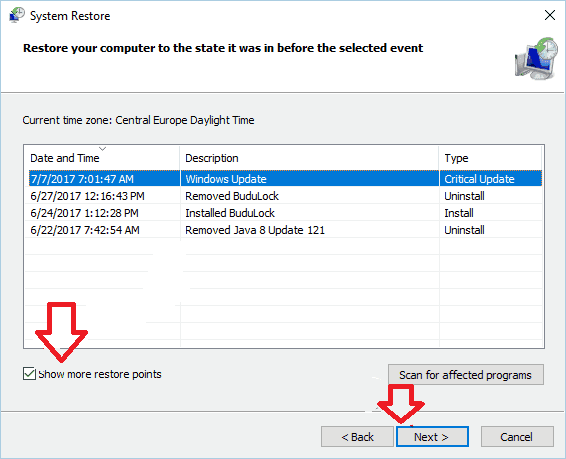
- STEP 5. Choose the desired restore point and click Next.
- STEP 6. Follow the instruction on the screen and you will be restored to the version where this issue does not exist.
Conclusion
UXDService might look like a problematic issue but actually, it is not, it does not harm your system or affect the files. But it can be frustrating as it may occur frequently. To fix this issue the above guide can help you out with some working methods.
We hope that by following the solutions your issue has been fixed. Thank you!
Frequently Asked Questions (FAQ)
1. How do I start all services in Windows 10?
Go to System Configuration by typing “msconfig” on the Search box on the taskbar. Tap on Normal Startup from the General tab. Select the Services tab. Clear the checkbox beside “Hide all Microsoft services”, select Enable all and Apply.
2. How do I stop a service in Windows 10?
Open Task Manager by pressing Ctrl + Shift + Esc on your keyboard> Go to Services tab> Select the service you want to manage> Tap on Start or Stop button from the toolbar on top.


